Using your Mac as a HomeKit Camera
Want to try using your Mac as a HomeKit camera? Got access to Apple’s developer tools?
- Go to Apple's developer tools download site and download "Additional Tools for Xcode"
In the resulting disk image there's a Hardware folder. Launch the HomeKit Accessory Simulator app. Maybe drag it to your Applications folder, add it to your dock, set it to open at login, etc.
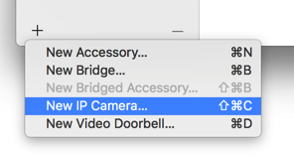
Lower left corner of HomeKit Accessory Simulator, click "+" and then "New IP Camera"

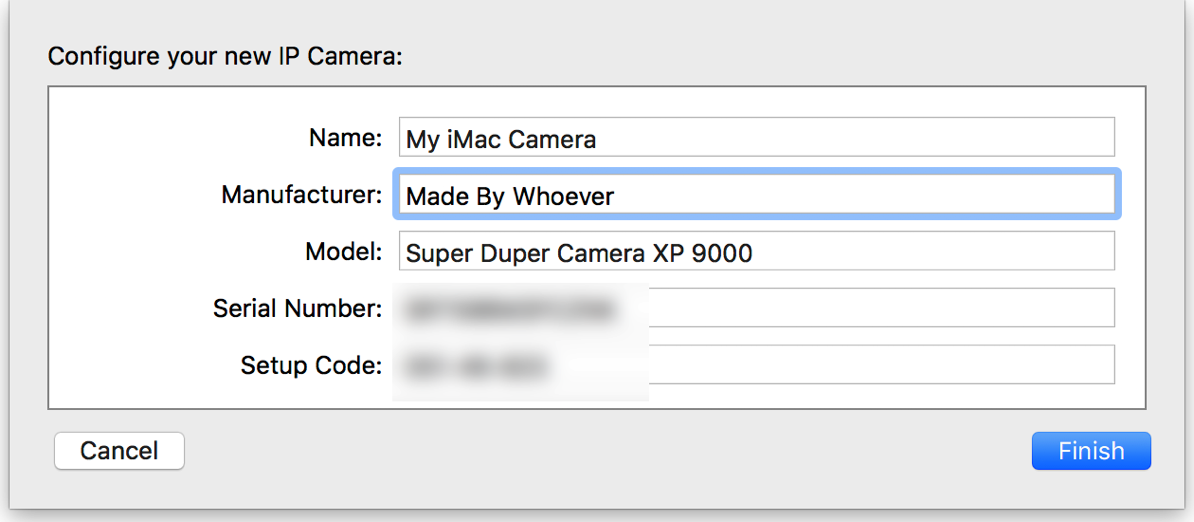
In the "Configure your new IP Camera" section, fill in a name, manufacturer and model. Make up something interesting. Click "Finish".

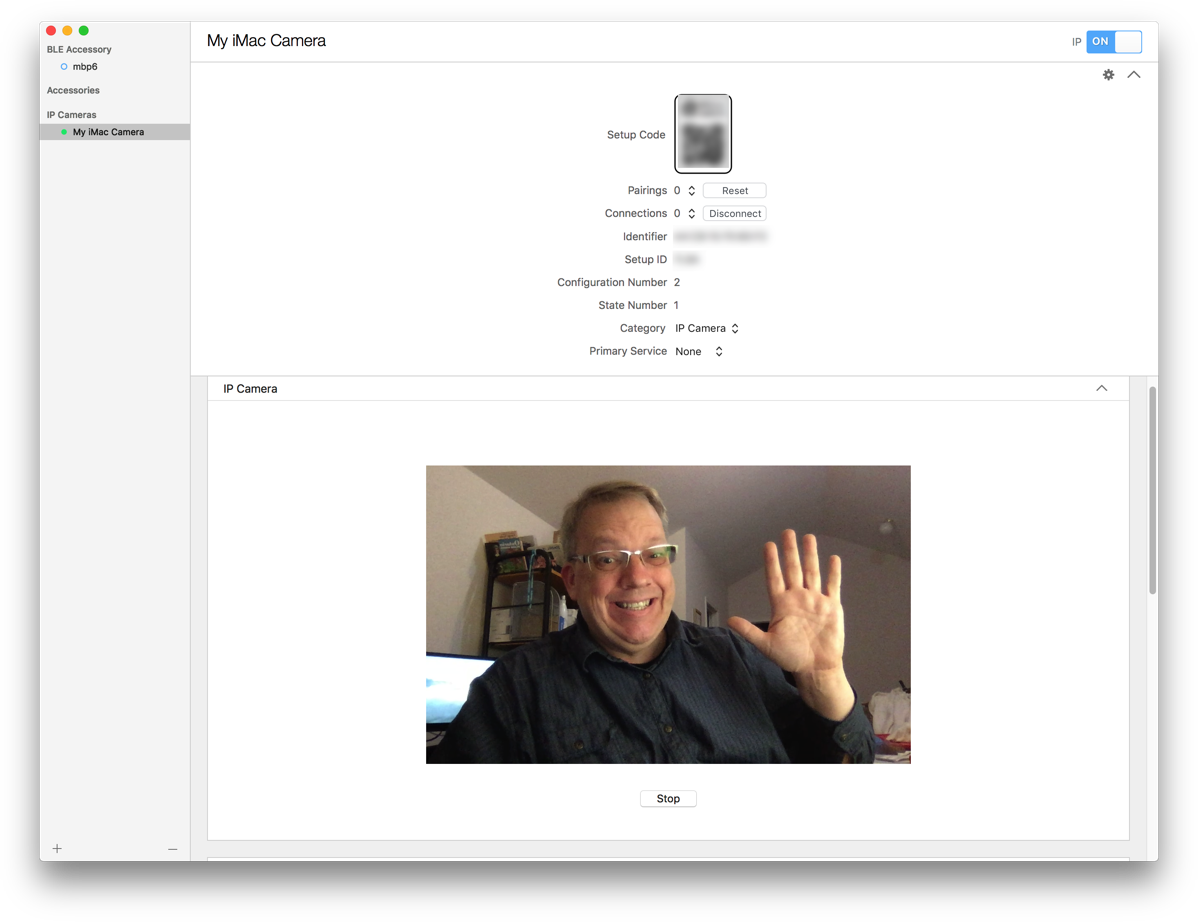
Scroll down in bottom half of window, click "Start". Camera image should appear.

You now have a HomeKit Camera running. See that "Setup code" at the top of the window? To add it on your iPhone...
- Launch Home app
Touch "+" button
Touch "Add Accessory".
Point camera at the Setup Code in HomeKit Accessory Simulator on your Mac.
It'll say it's an uncertified accessory. Click "Add anyway."
Tada, a HomeKit camera.