We’re in Alaska and were near a lovely babbling creek in Ketchican today. One of my favourite iPhone tricks is using long exposures when shooting a waterfall or babbling brook – the effect you get in the water is pretty cool. Here’s how! It’s easy, just a couple of taps.
First, the end result. Here’s Creek Street in Ketchican today.
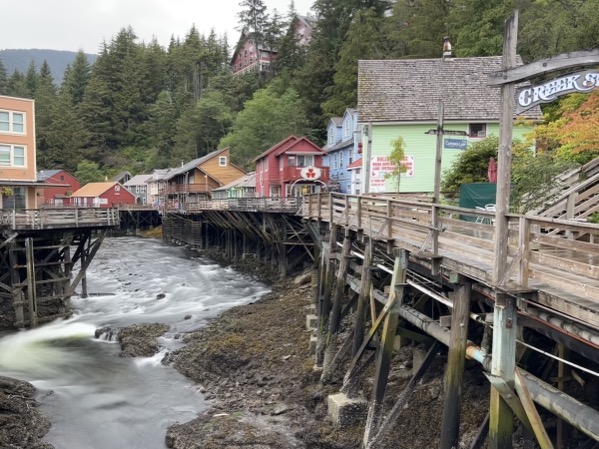
How do you get that neat silky blurry moving water effect? Easy!
The trick is to turn on the camera’s Live Photo feature, which captures about a 2 second clip every time you take a picture. Then you can use Long Exposure to average all 2 seconds of that clip into a single frame – which blurs the moving water really nicely.
And as a nice side effect, if there are people walking around during the 2 second exposure, it might average them right out of the picture!
So here’s what you do.
- Approach waterfall or babbling brook
-
Open the camera app – and tap the Live Photo button at the top. That nested circle thing in the top right. If it’s on, the app will briefly display LIVE as seen here.
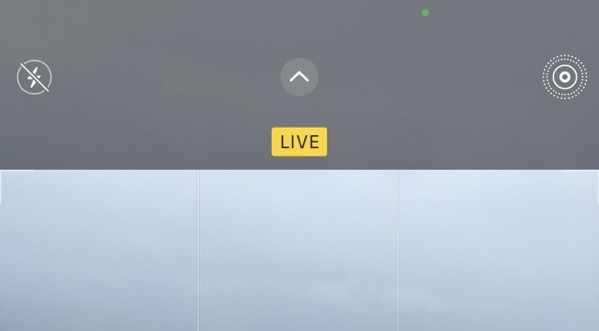
- Take picture. Hold still! It’s actually taking a 2 second exposure, but just showing you a single photo.
-
If satisfied, great! If not, let’s blur the water.
-
Find the photo in the Photos app (or tap the icon in the lower left of Camera, if you just snapped it now.) You’ll see this “LIVE” indicator in the top left, if you’re looking at a LIVE photo.
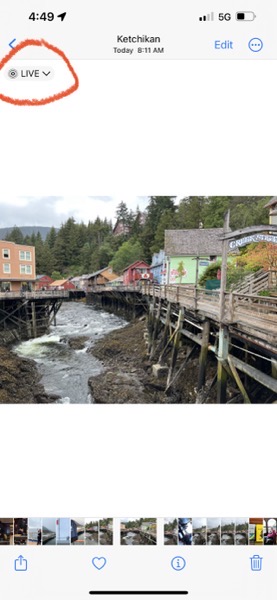
That LIVE thing is actually a popup button, which lets you choose from several different effects that can be applied to a live photo. Tap it for a menu, like this

These are your choices –
- Live – a photo that plays a 2 second movie when you long-press
- Loop – Turn the 2 second photo into a little movie that loops continuously.
- Bounce – like Loop, but the movie goes back and forth and back and forth
- Long Exposure – this is the magic one we want! It averages all the frames together, and the effect looks great on moving water
All these effects are quick and easy and non-destructive, so you can try it and see if you like it.
- Tap Long Exposure and marvel at how cool the water in the lower left looks now — and in this case, a little harder to see but the people walking on the bridge on the left side have been averaged right out of sight! You can use this to remove crowds!
Before –
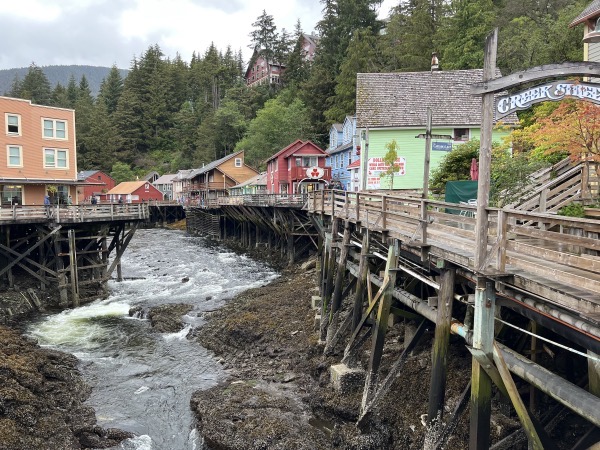
After –

Note that the averaging also crops your photo a little bit because, I dunno, algorithmic handwaving image stabilization reasons.
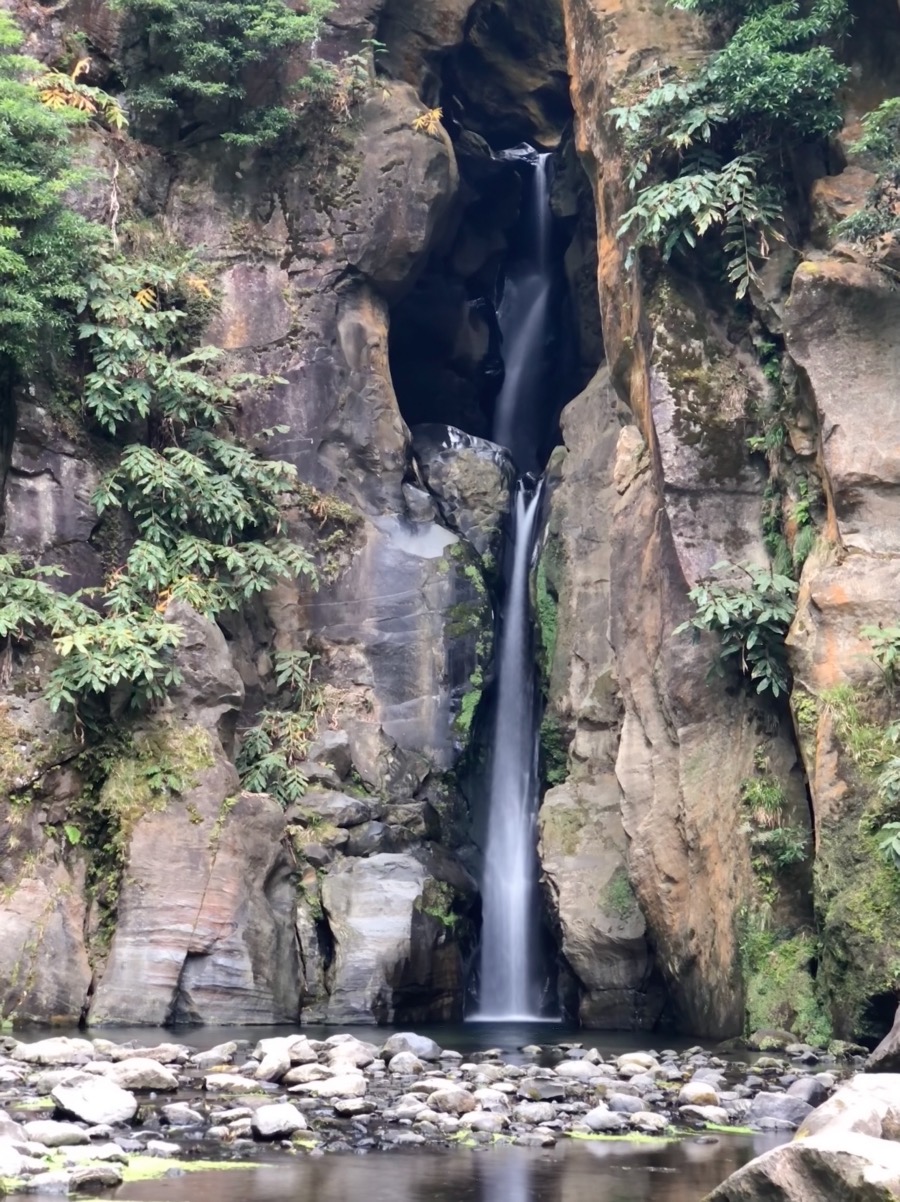
Pretty cool, huh. Try it on your next photo of a waterfall. Here’s one I took in the Azores a couple of years ago, using the same trick.
