Using your Mac as a HomeKit Camera
Want to try using your Mac as a HomeKit camera? Got access to Apple’s developer tools?
-
Go to Apple’s developer tools download site and download “Additional Tools for Xcode”
-
In the resulting disk image there’s a Hardware folder. Launch the HomeKit Accessory Simulator app. Maybe drag it to your Applications folder, add it to your dock, set it to open at login, etc.
-
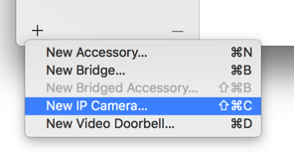
Lower left corner of HomeKit Accessory Simulator, click “+” and then “New IP Camera”

-
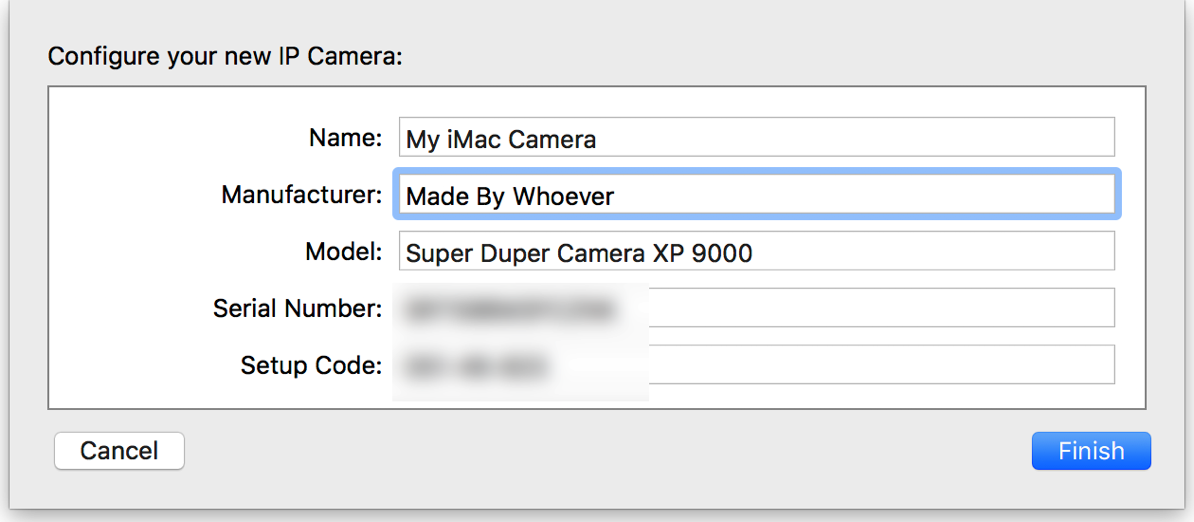
In the “Configure your new IP Camera” section, fill in a name, manufacturer and model. Make up something interesting. Click “Finish”.

-
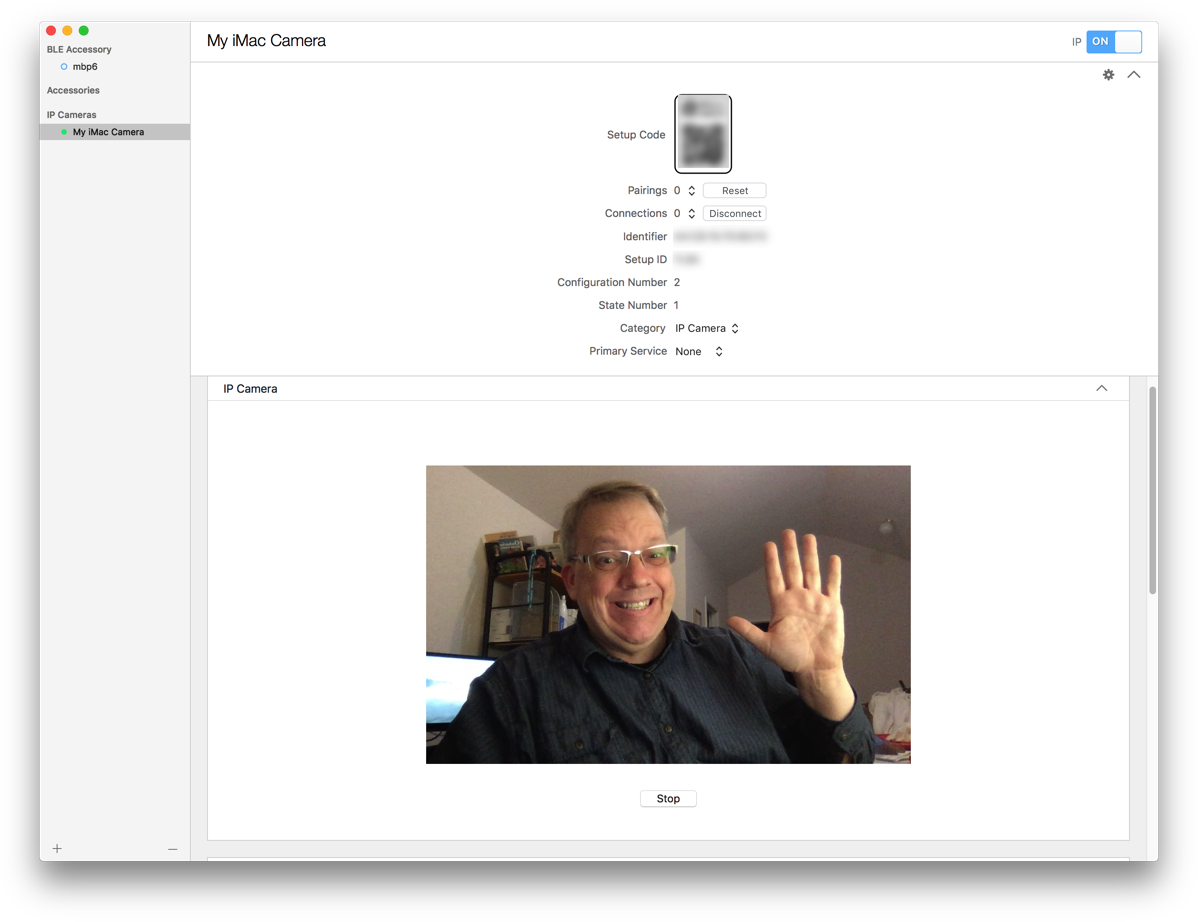
Scroll down in bottom half of window, click “Start”. Camera image should appear.

You now have a HomeKit Camera running. See that “Setup code” at the top of the window? To add it on your iPhone…
-
Launch Home app
-
Touch “+” button
-
Touch “Add Accessory”.
-
Point camera at the Setup Code in HomeKit Accessory Simulator on your Mac.
-
It’ll say it’s an uncertified accessory. Click “Add anyway.”
Tada, a HomeKit camera.